# Type at least 1 character to search # Hit enter to search or ESC to close
Cart


Every mug begins with a block of clay. I cut off a piece and wedge it — much like kneading dough. But unlike baking, the goal is to remove air bubbles and create consistency in the clay body. Once the clay is well-wedged, I cut and weigh pieces so each mug starts with the same amount of clay, ensuring consistent size and shape.
The process truly begins when the clay is thrown onto the wheel head. The clay must be carefully centred, then opened up and pulled into walls. At this stage, I shape the mug’s body, sometimes altering it by pushing or stretching the clay to create more organic forms. The possibilities are endless.

Once thrown, the mug must rest (dry) until it reaches the leather-hard stage — anywhere from a few hours to a few days, depending on the weather. At this point, I trim away excess clay, especially from the base, refining the form and balancing the weight. This step turns a rough piece into something more elegant and functional.
A mug body is nothing without a handle. I use the pulling method: starting with a carrot-shaped piece of clay, I pull it with water until it stretches into long ribbons. Once slightly dried, these ribbons are cut to size and attached to the mug using score-and-slip technique. I often add a little detail — like a thumb rest — for comfort. At this stage, decoration can also be added through carving or underglazes.

When fully dry — which can take a week or more, especially in winter — the mugs are loaded into the kiln for their first firing, called the bisque. Heated to about 1000°C, the clay transforms from fragile earth to porous stoneware. The bisque firing takes about 8 hours, followed by 12–14 hours of cooling before the kiln can be opened.

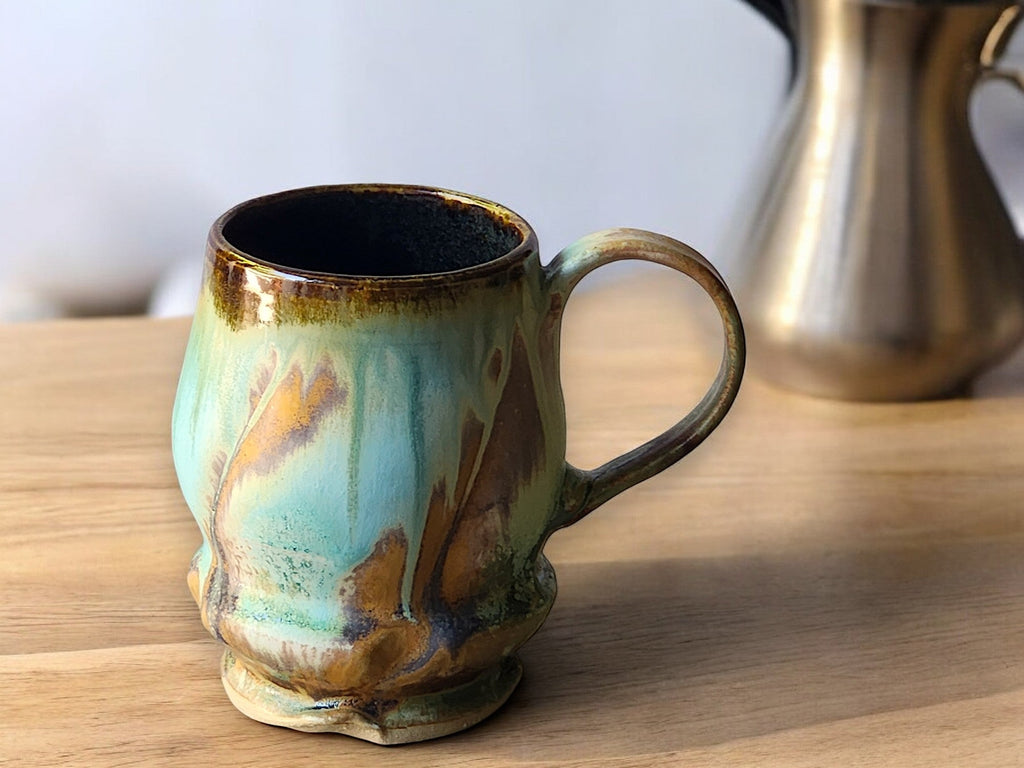
The bisqued mugs are cleaned and waxed at the base to prevent sticking in the kiln. I make all my glazes from scratch, and each piece may receive anywhere from 3 to 6 layers of glaze. Some are dipped, some sprayed, and often both. First, I pour in a liner glaze, then wait for the mug to dry slightly before adding the exterior glazes. This is where the magic of colour and texture begins.
Glazed mugs are placed back into the kiln for their final firing, reaching 1240°C (Cone 6). I then slow-cool to around 800°C, which encourages the microcrystals and mottling I love. This firing takes around 16 hours, with another 14 hours of cooling before opening. Opening the kiln is always like Christmas — glazes never look the same as when they go in, and the “kiln gods” may surprise you with triumphs or disappointments.

The mug is almost ready, but first, I smooth the base using diamond grinding discs so it won’t scratch your table.
For online sales, there’s more to do: photographing, measuring, pricing, and uploading to the website. Once sold, I carefully wrap and pack each mug so it arrives safely at its new home — ready to finally be enjoyed with tea or coffee.